Skip to content

Pork belly cooked in a bag
APPETIZERS ≈ 12 hours 30 minutes 8 servings 25 October 2026 · 0 comments
Pork belly cooked in a bag

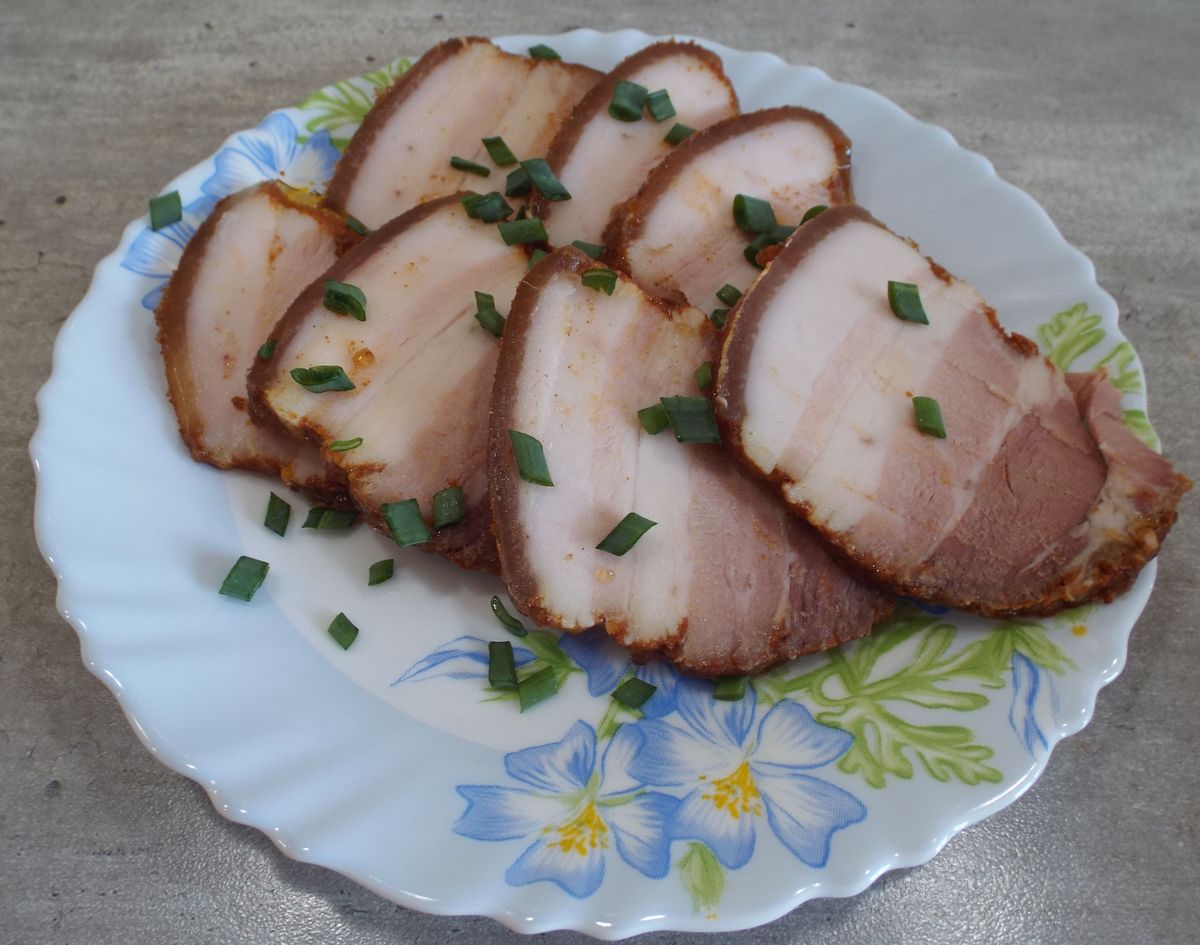
I am continuing to try ways of cooking whole pieces of meat for cold platters and sandwiches. This version was especially good: soft, tender and full of spice flavor, even through the skin. Once chilled, it slices thinly without falling apart.
CookingCooking
30 minutes
Resting
12 hours
Total
12 hours 30 minutes
INGREDIENTS
Servings
original yield — 8 servings
pork belly 1 kg
salt 2 tsp
paprika 2 tsp
smoked paprika 2 tsp
barbecue seasoning 2 tsp
ground red pepper 2 tsp
NUTRITION PER 100 G
210
kcal
19 g
protein
15 g
fat
1 g
carbs
INSTRUCTIONS
01
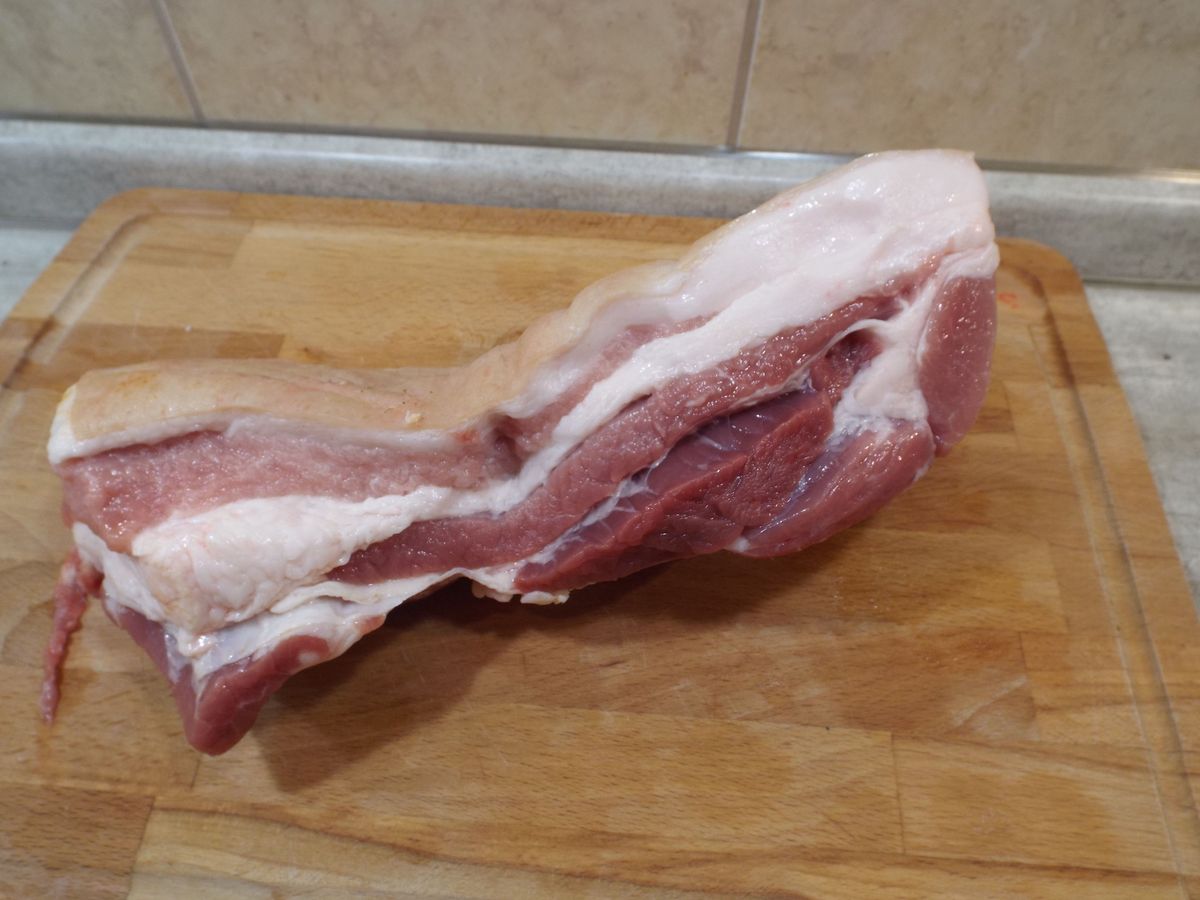
STEP 1 — Wash the brisket. Dry with paper towels. If the skin is poorly processed, then scrape it well with a knife and rinse with running water. I had a clean, good piece, so no additional manipulation was required.
Wash the brisket. Dry with paper towels. If the skin is poorly processed, then scrape it well with a knife and rinse with running water. I had a clean, good piece, so no additional manipulation was required.

02
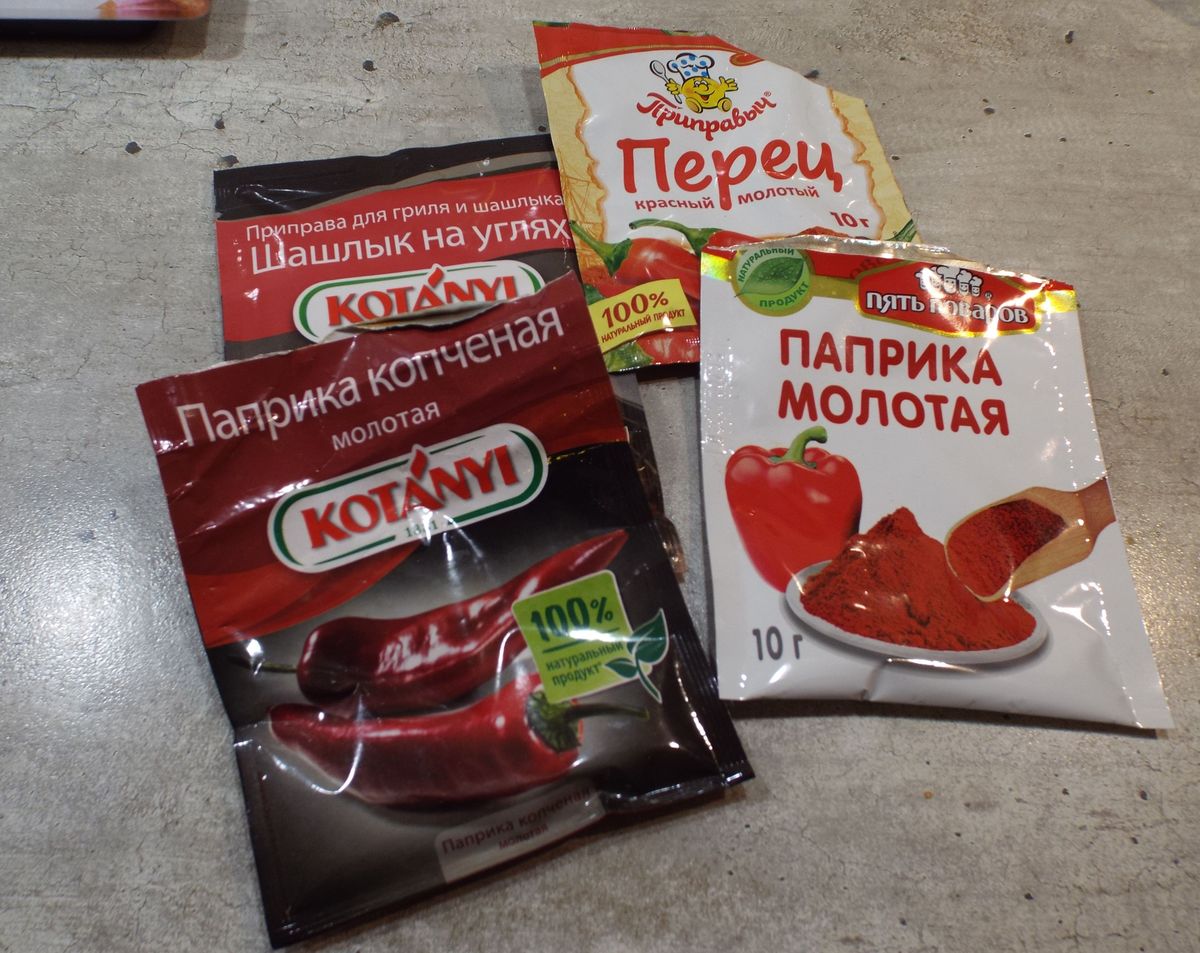
STEP 2 — You can use the spices you like. I chose paprika: regular and smoked (by the way, I highly recommend it if you are not yet familiar with this spice), ground red pepper and a barbecue mixture.
You can use the spices you like. I chose paprika: regular and smoked (by the way, I highly recommend it if you are not yet familiar with this spice), ground red pepper and a barbecue mixture.

03
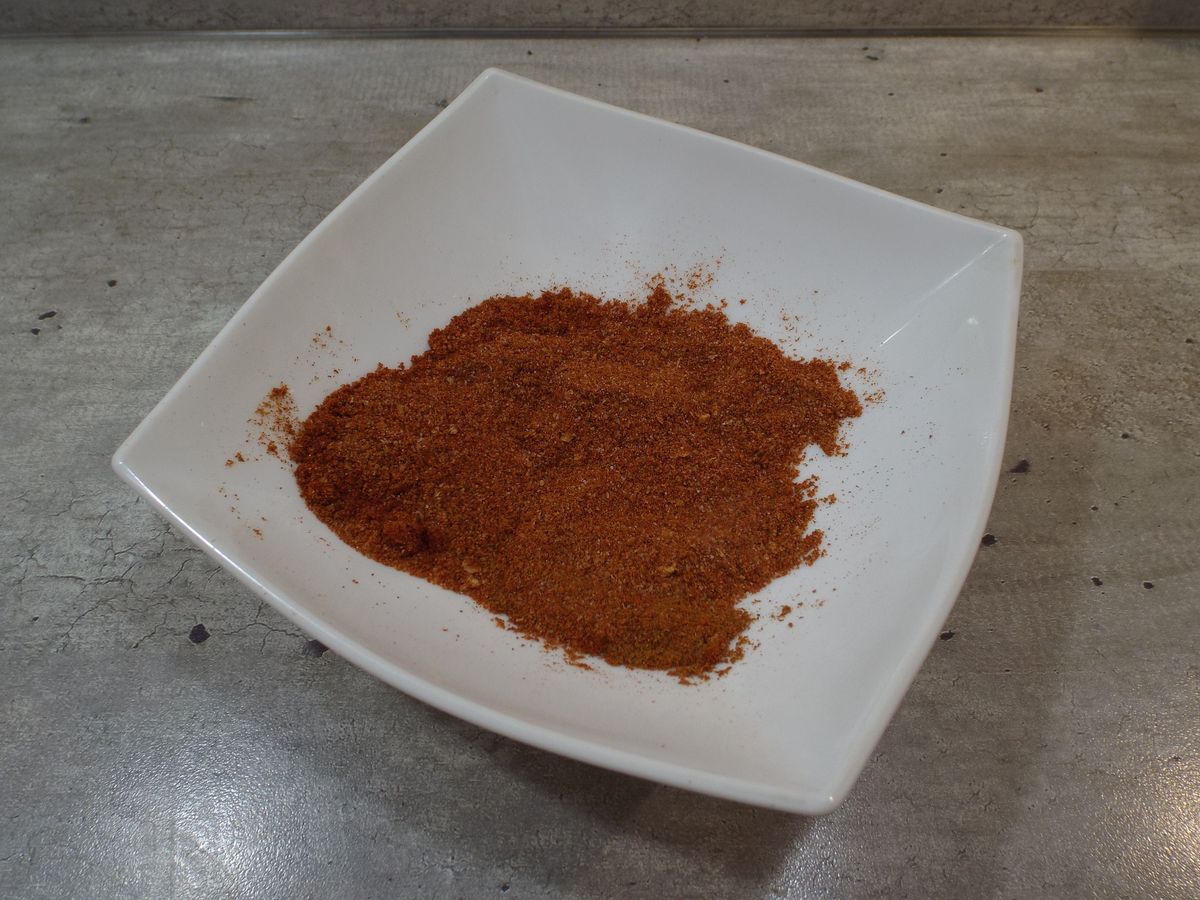
STEP 3 — Mix all spices in a separate bowl, add salt.
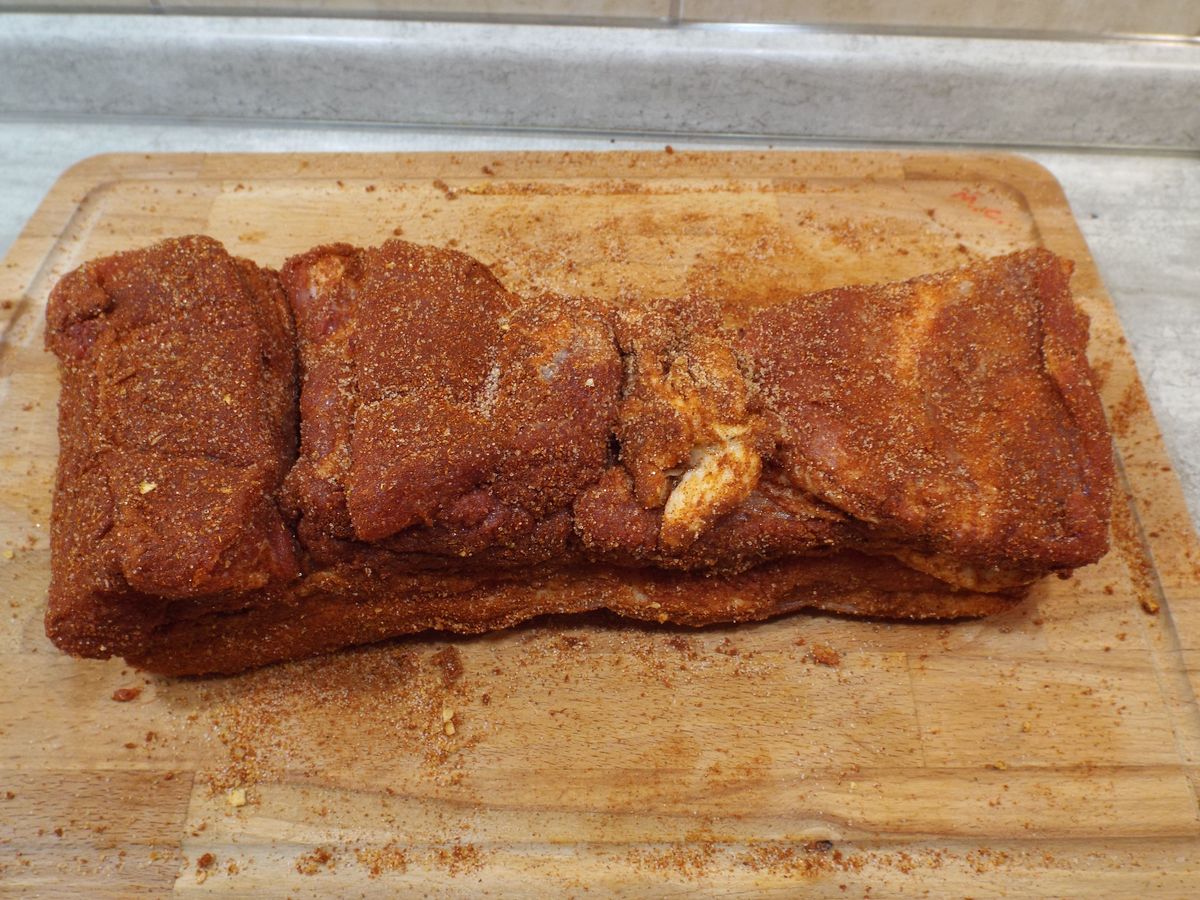
Mix all spices in a separate bowl, add salt.

04
STEP 4 — Rub a piece of meat thoroughly on all sides with spices. They stick to the meat very well and do not crumble.
Rub a piece of meat thoroughly on all sides with spices. They stick to the meat very well and do not crumble.

05
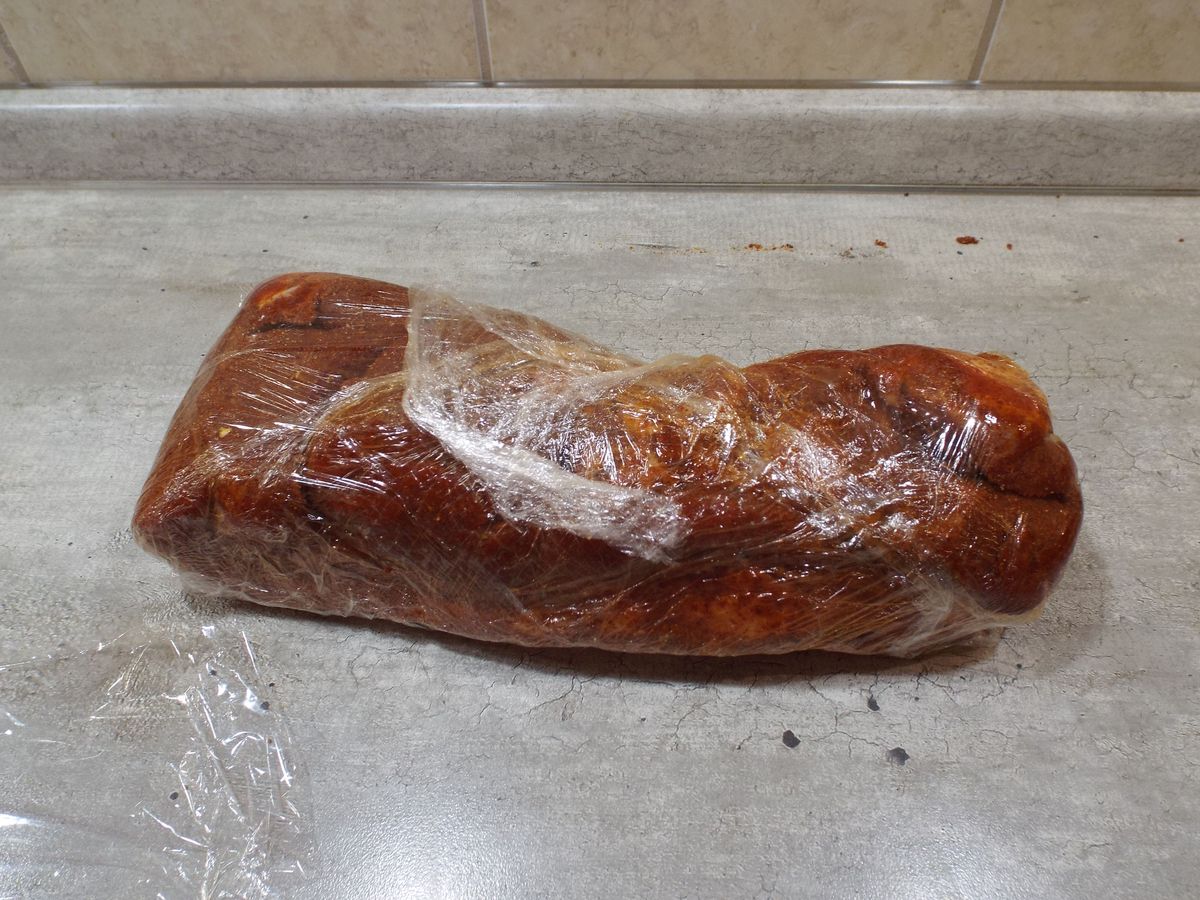
STEP 5 — Now, perhaps, the most difficult and crucial moment. You need to wrap the meat in cling film so that there is no air left inside.
Now, perhaps, the most difficult and crucial moment. You need to wrap the meat in cling film so that there is no air left inside.

06
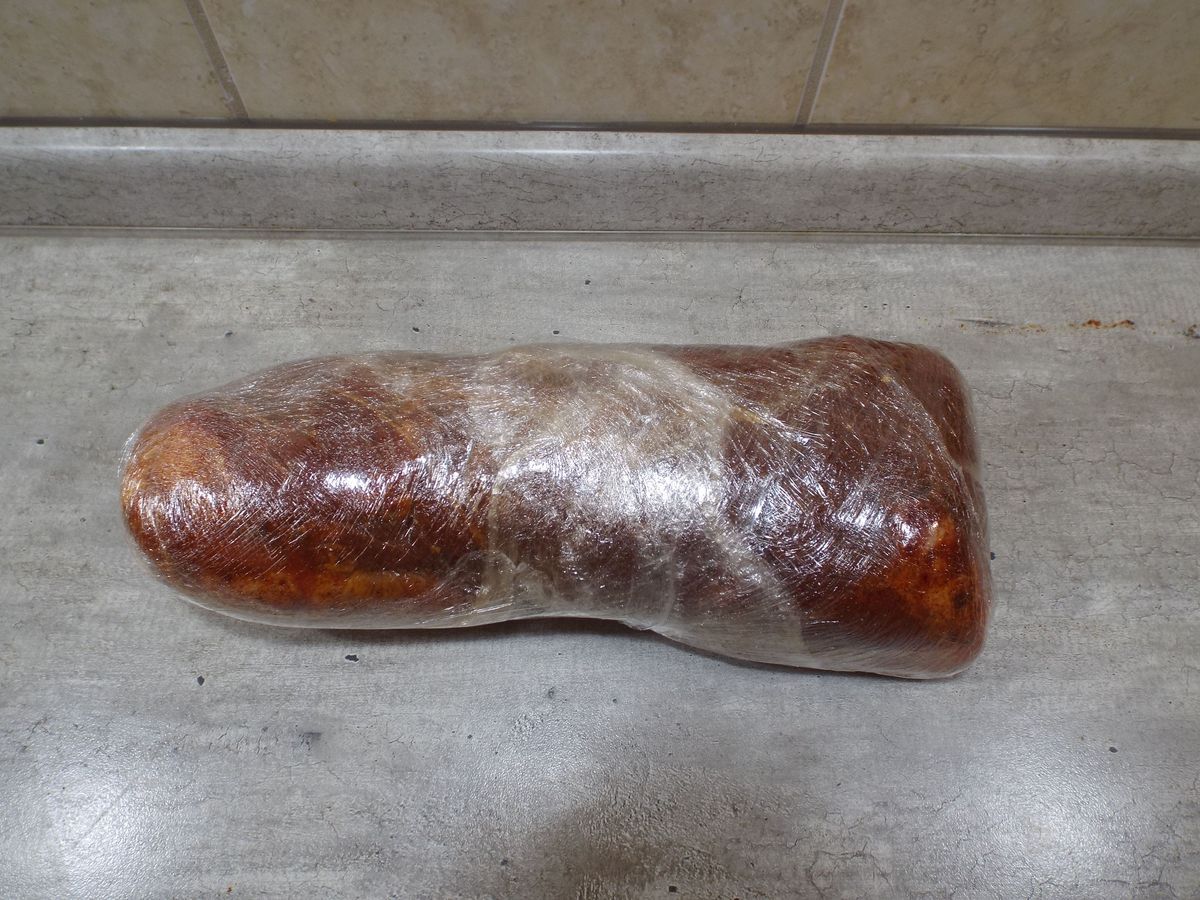
STEP 6 — To prevent water from getting inside, wrap it in another layer of film. Please note that the film must be labeled “food grade”.

To prevent water from getting inside, wrap it in another layer of film. Please note that the film must be labeled “food grade”.

07

If you have time, put the meat in the refrigerator to marinate. If not, move on to the next step.

08

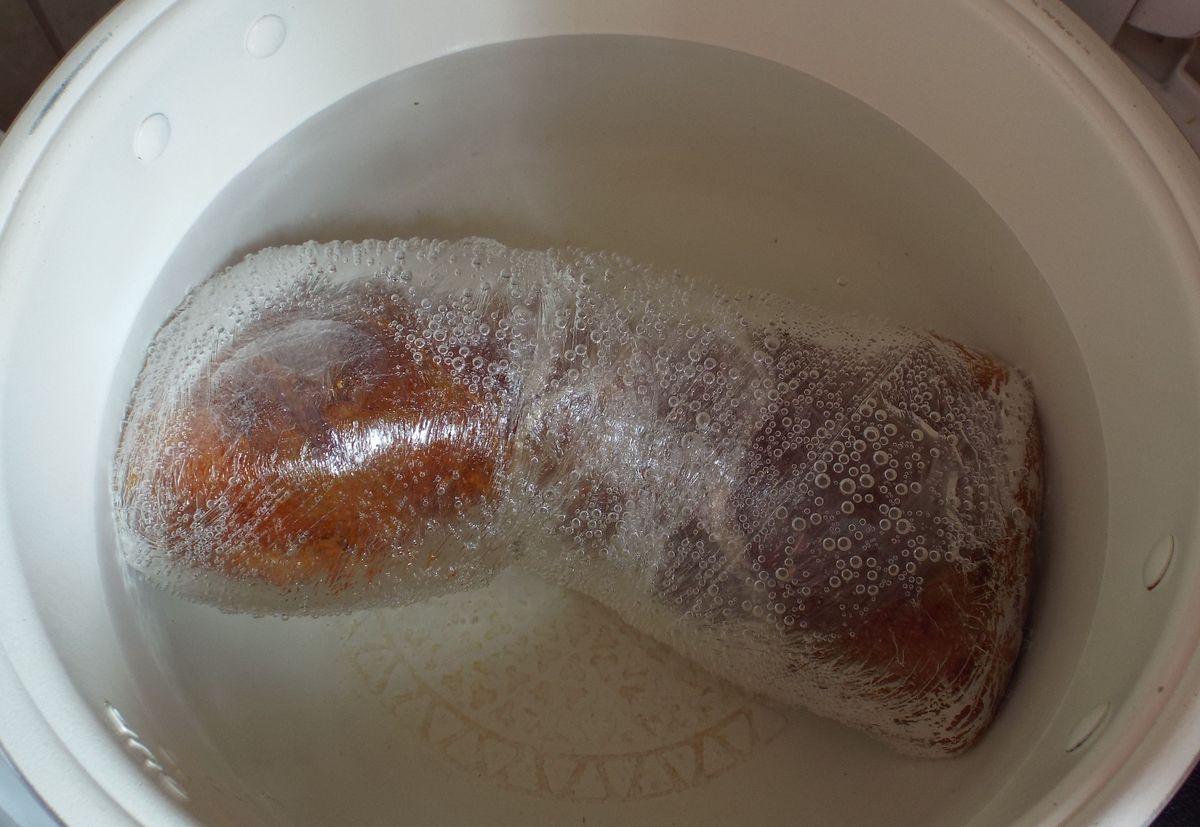
Boil water in the multicooker bowl. Look at the volume for yourself: the meat should be completely hidden by water.
09
STEP 9 — Place the brisket wrapped in film into boiling water. Let's boil. And let it simmer for 20 minutes. After this, switch the multicooker to the “Warming” mode and leave the meat to simmer for 12 hours.

Place the brisket wrapped in film into boiling water. Let's boil. And let it simmer for 20 minutes. After this, switch the multicooker to the “Warming” mode and leave the meat to simmer for 12 hours.

10

I set my multi-cooker at 80°C in the “Multi-cook” mode for 12 hours.
11
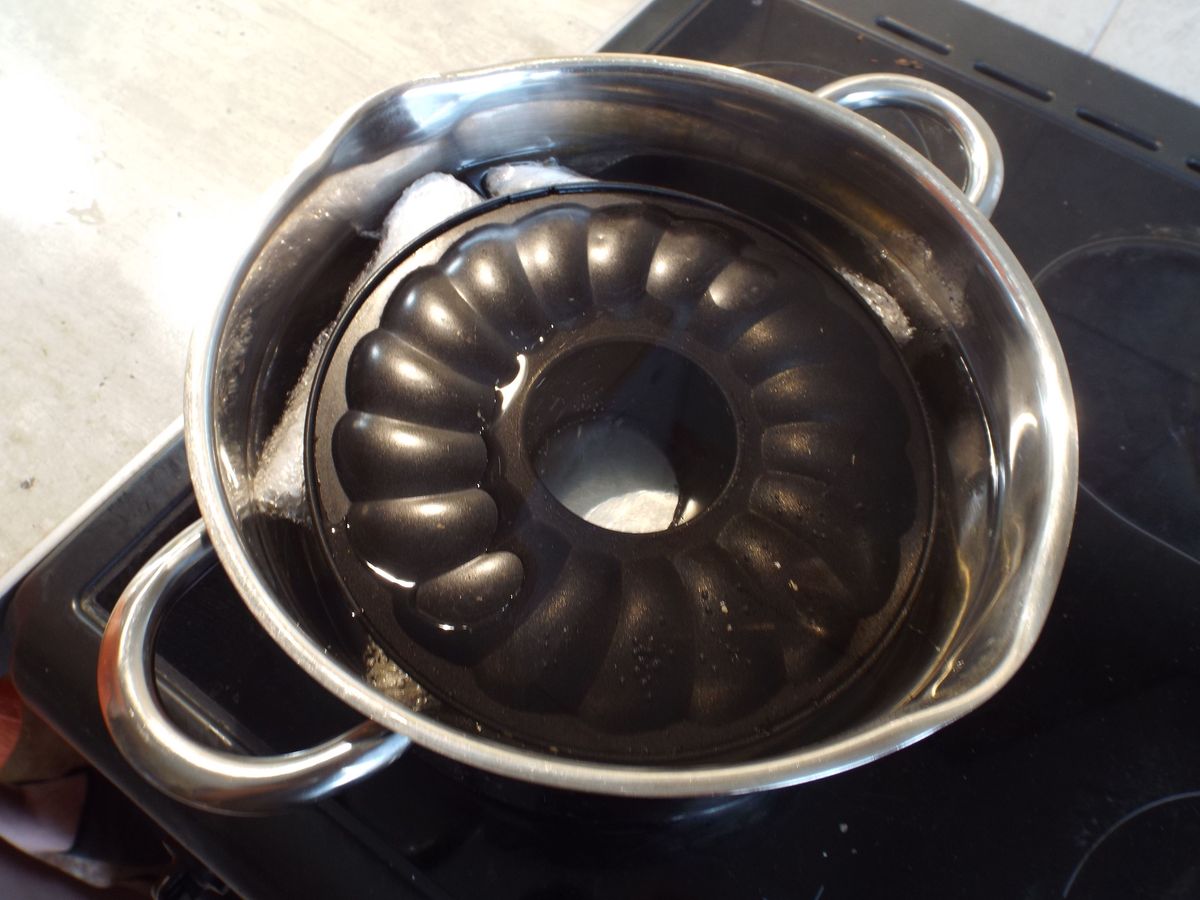
STEP 11 — Keep the meat submerged. If trapped air makes it float, weigh it down. I sometimes use part of a springform cake pan; the photo shows the same method with another dish.
Keep the meat submerged. If trapped air makes it float, weigh it down. I sometimes use part of a springform cake pan; the photo shows the same method with another dish.

12
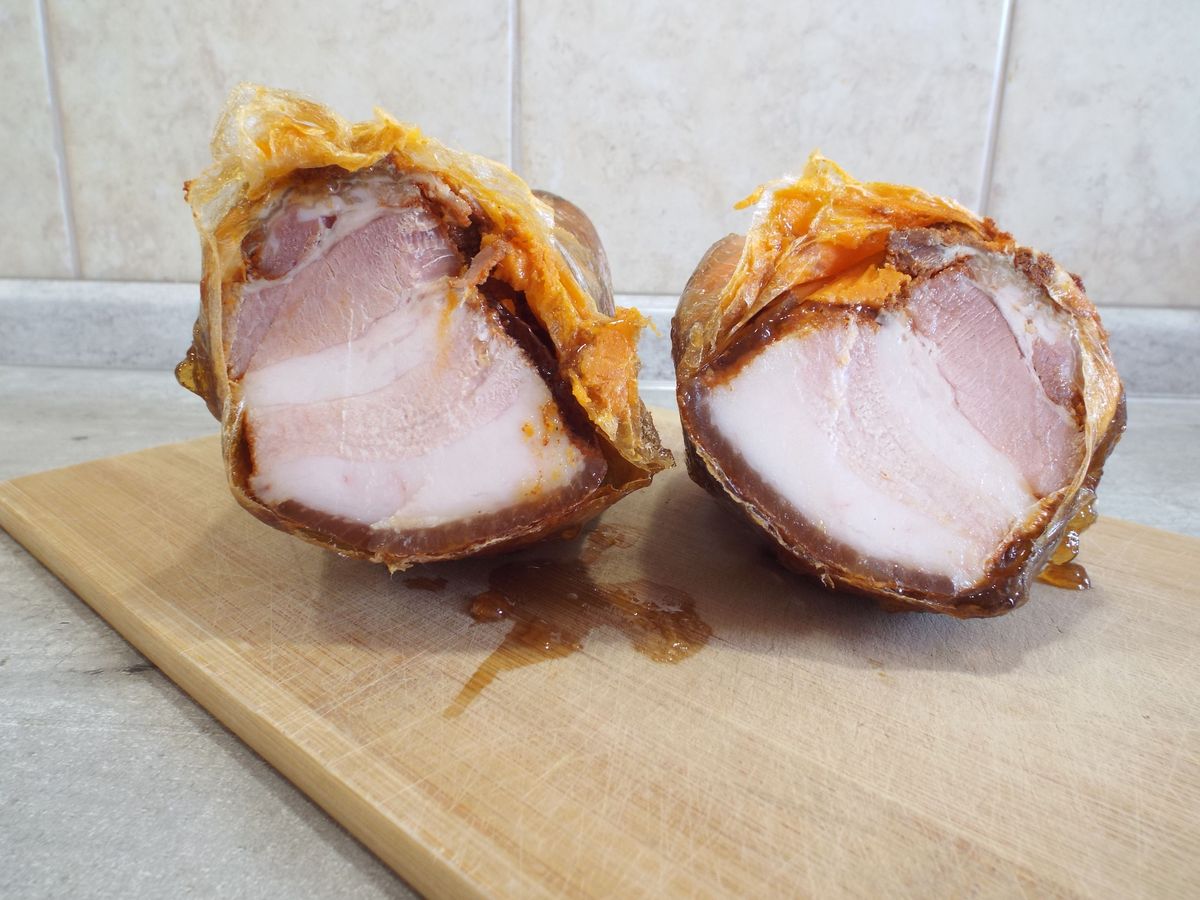
STEP 12 — After 12 hours, remove the meat from the water. Without removing the film, let it cool. Then put it in the refrigerator until completely cool. This is a photo of the already cooled brisket.
After 12 hours, remove the meat from the water. Without removing the film, let it cool. Then put it in the refrigerator until completely cool. This is a photo of the already cooled brisket.

13
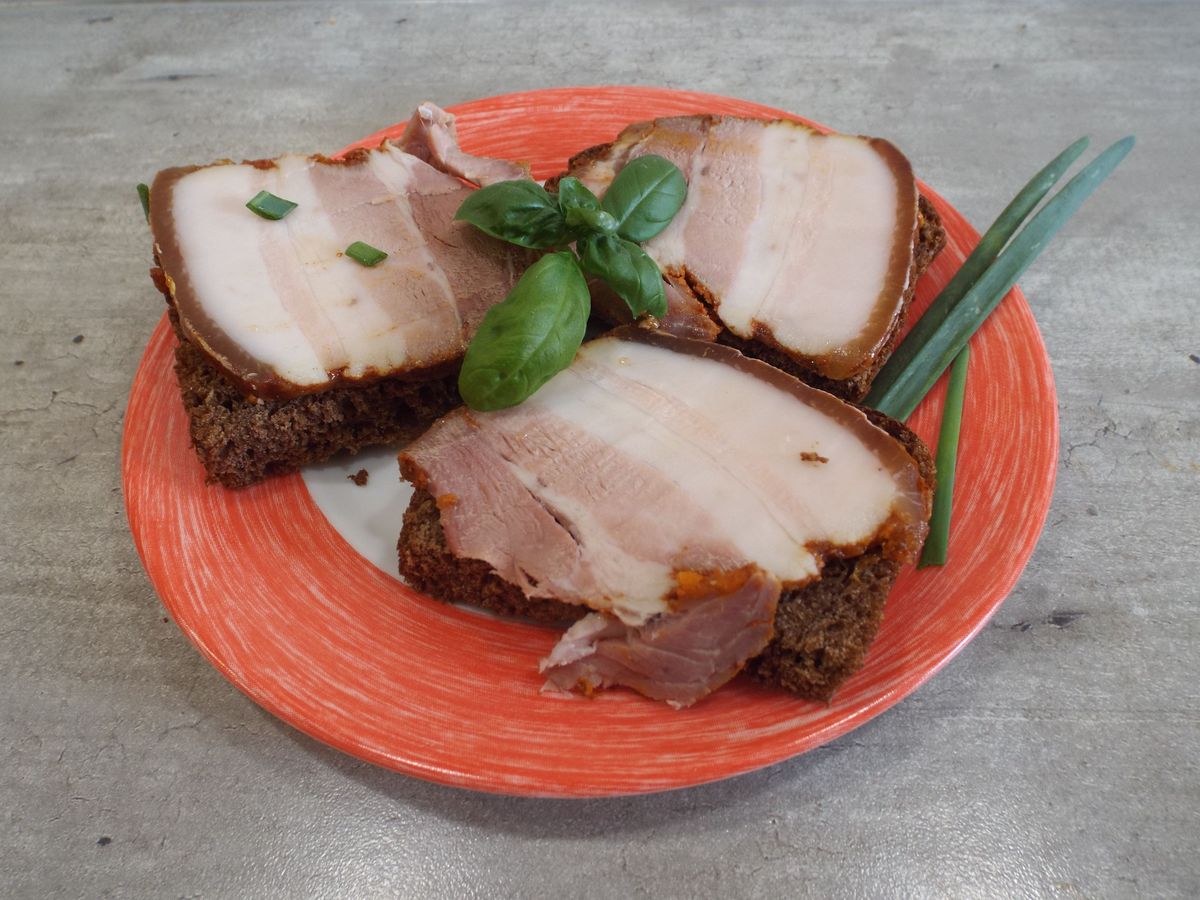
STEP 13 — We release the brisket from the film, cut into thin slices and can be served.
We release the brisket from the film, cut into thin slices and can be served.

Other options
14
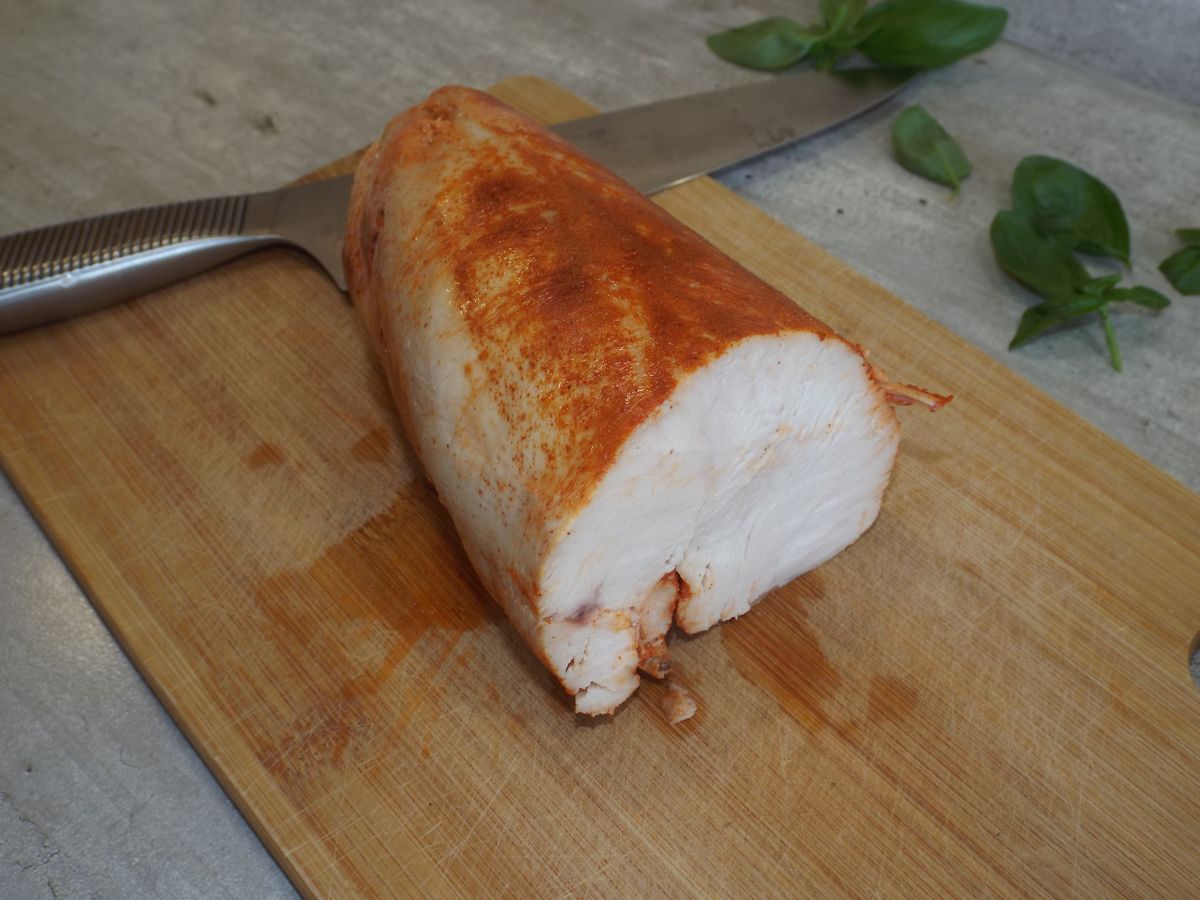
STEP 14 — I used the same principle to prepare turkey breast fillet. The result was very tasty juicy meat. I was afraid that it would turn out a little dry. But no, everything is fine.
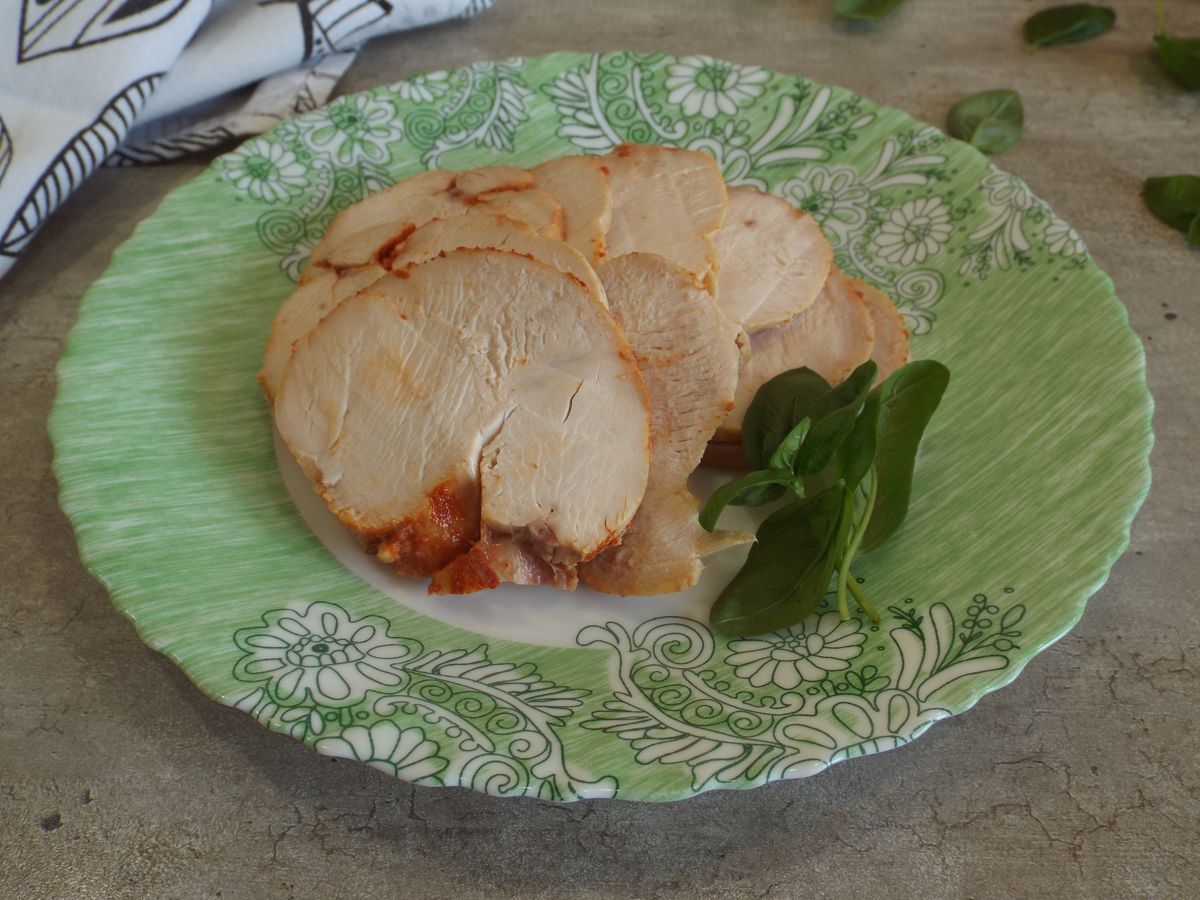
I used the same principle to prepare turkey breast fillet. The result was very tasty juicy meat. I was afraid that it would turn out a little dry. But no, everything is fine.

15
STEP 15 — I had a piece a little over a kilogram. The meat took 5.5 hours to cook.

I had a piece a little over a kilogram. The meat took 5.5 hours to cook.

RATE THIS RECIPE

SHARE: VK TELEGRAM OK

Be the first to comment

NOT SURE WHAT TO COOK?
Find your next dish among our 296 tested recipes
SURPRISE ME!
TIP OF THE DAY

How to dilute vinegar to the required strength — Recipes often call for 9% or 6% vinegar, but you may only have 70% vinegar essence at home. What should you do?…

ALL TIPS →